Sessions and Knowledge
Hollama organizes your interactions into two primary concepts: Sessions and Knowledge. All of this data is stored locally in your browser.
Sessions
A Session is a single, continuous conversation with an AI model. Each session maintains its own context and history.
Managing Sessions
- Creating: Click the New session button in the sidebar to start a new, empty conversation.
- Navigating: The sidebar lists all your saved sessions, ordered by the most recently updated. The title of a session is automatically generated from the first user prompt. You can click on any session to load its history.
- Editing Title: You can give a session a custom title. Hover over a session in the sidebar and click the pencil icon that appears.
- Deleting: To delete a session, you can either:
- Hover over it in the sidebar and click the trash can icon.
- Open the session and click the trash can icon in the header.
Session Data
Each session stores:
- The full history of user and assistant messages.
- The model used (e.g.,
llama3). - Any custom model options or system prompts applied to that session.
- Image attachments.
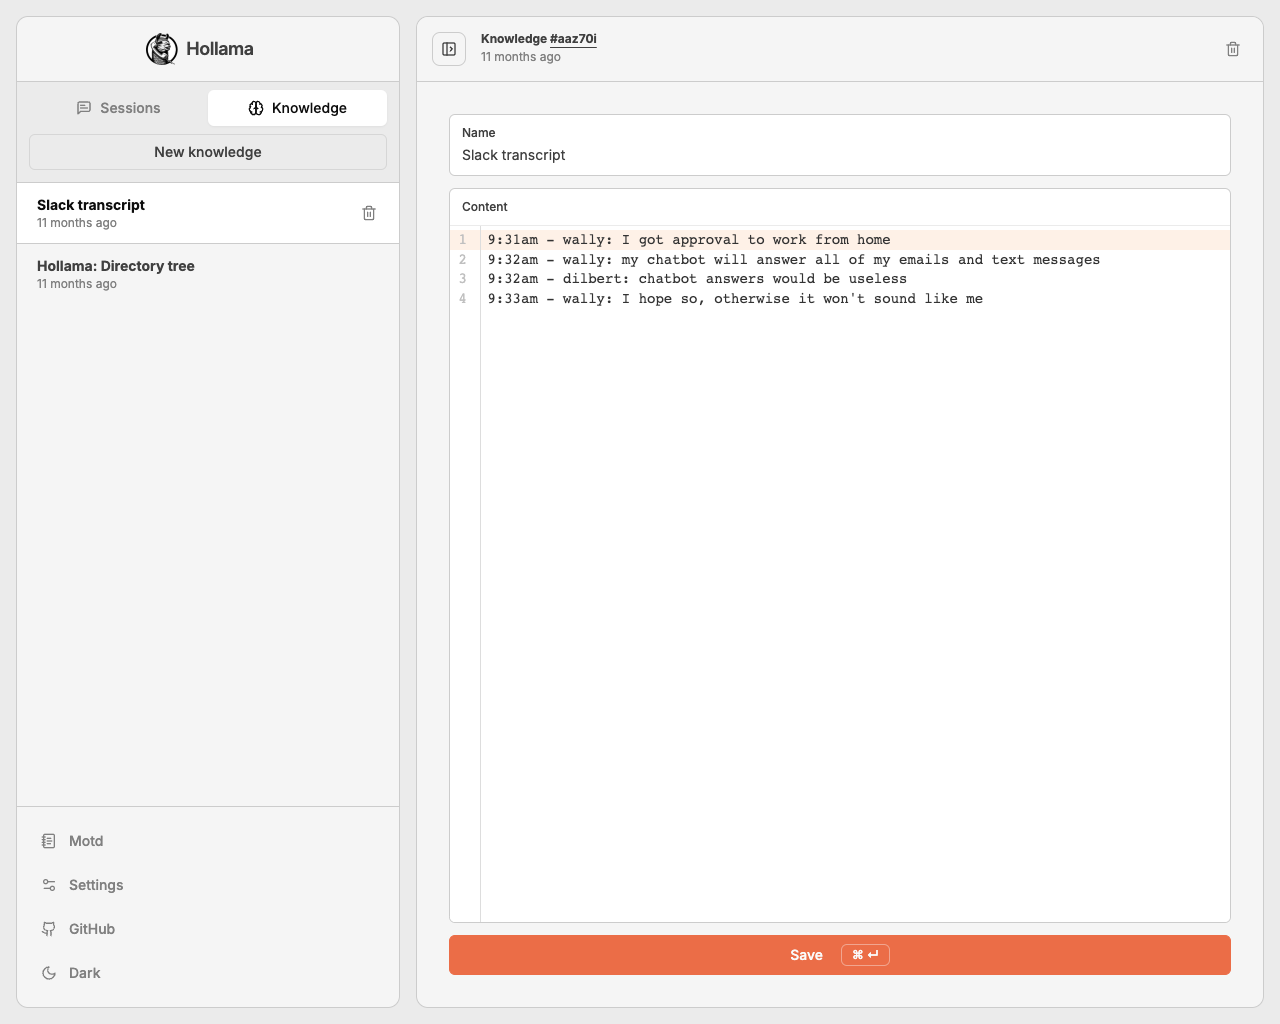
Knowledge
Knowledge is a powerful feature for storing and reusing content, typically used for complex system prompts or providing consistent context across multiple sessions.
Managing Knowledge
- Creating: Navigate to the Knowledge tab in the sidebar and click the New knowledge button.
- Editing: Give your knowledge a Name (for easy identification) and add your content in the main editor. The content can be plain text or Markdown. Click Save.
- Deleting: You can delete a knowledge item from its page header or by hovering over it in the sidebar list.
Using Knowledge in a Session
You can use a knowledge item as a system prompt or attach it as context to a specific message.
-
As a System Prompt:
- In a session, click the Settings icon in the prompt editor to open the Controls view.
- Use the Knowledge dropdown to select a saved knowledge item. Its content will automatically populate the system prompt for that session.
-
As an Attachment:
- In the prompt editor, click the Brain icon.
- A new dropdown will appear. Select the knowledge item you want to attach.
- When you send your message, the content of the knowledge item will be sent as a separate context block alongside your prompt.