Quick Start Guide
This guide will walk you through the basic steps to get Hollama up and running with a local Ollama server.
Prerequisites
Before you begin, make sure you have Ollama installed and running on your local machine. You should have at least one model pulled, for example:
ollama pull llama3Step 1: Open Hollama
Open the Hollama application. You can use:
- The live demo
- The desktop app
- A self-hosted instance
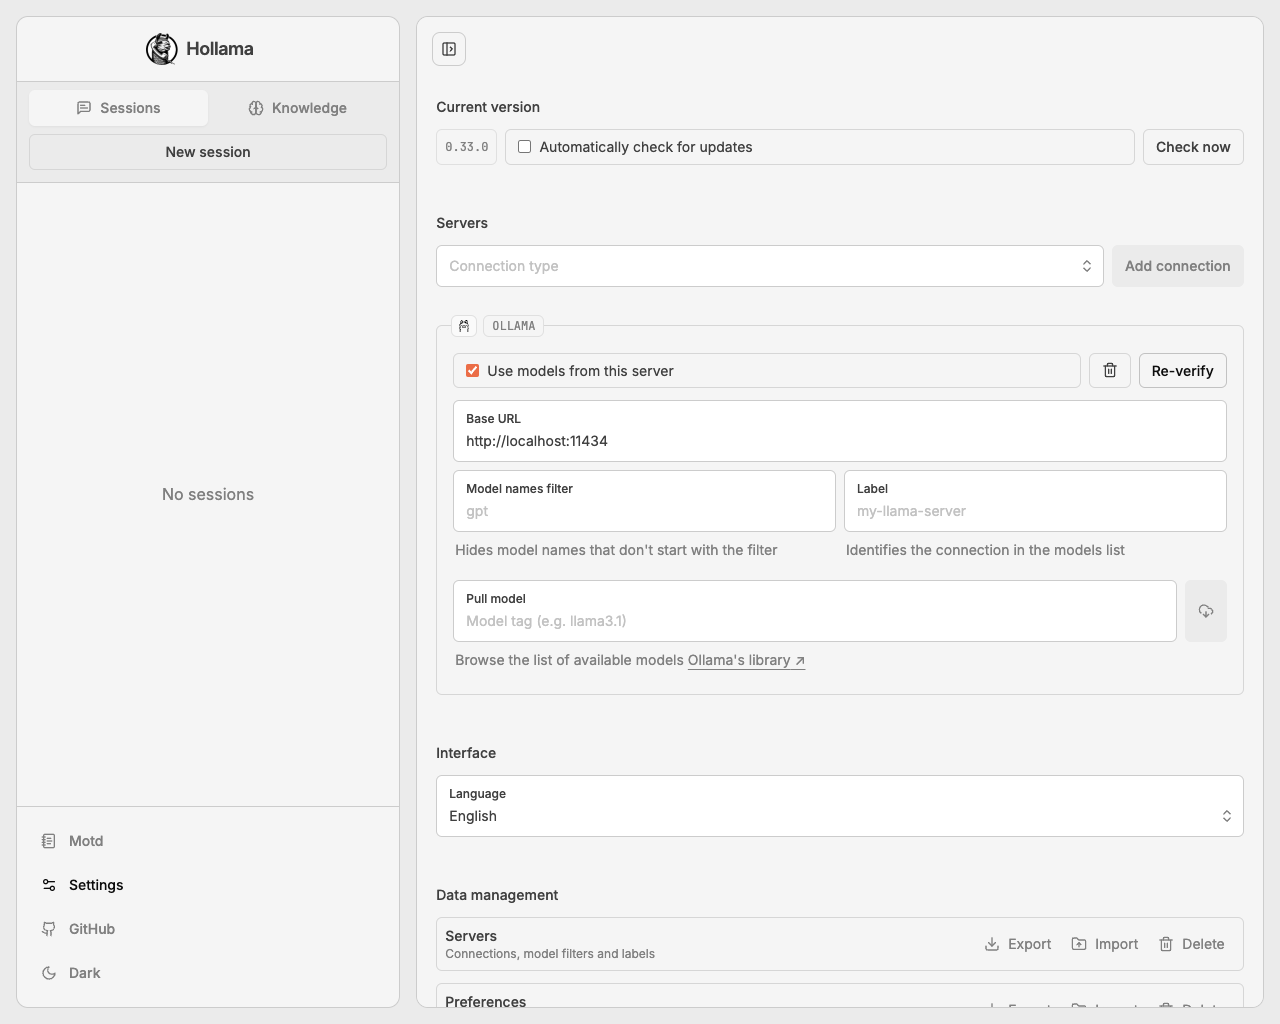
When you first open Hollama without any configured servers, you will be automatically redirected to the Settings page.
Step 2: Configure and Verify Your Server
Hollama needs to connect to an LLM server to function. By default, it will suggest a connection to a local Ollama instance.
- Navigate to the Settings page (if you're not already there).
- You should see a pre-configured server connection for Ollama with the Base URL
http://localhost:11434. - Click the Verify button.
If your Ollama server is running locally, the connection should succeed. A toast notification will confirm that the connection is verified, and the "Use models from this server" checkbox will be automatically enabled.
For more advanced server configurations, see the Server Connections guide.
Step 3: Start a New Chat Session
- Click on the Sessions tab in the sidebar.
- Click the New session button to start a new chat.
Step 4: Select a Model
- In the prompt area at the bottom, click the model selection dropdown.
- You should see a list of models available from your connected server. Select the model you want to use (e.g.,
llama3).
Step 5: Send a Message
- In the prompt input field, type your first message, for example,
"Hello, who are you?". - Click the Run button or press
Enterto send the message.
You should see a response from the model stream into the chat window.
Congratulations! You've successfully set up Hollama and started your first conversation.